
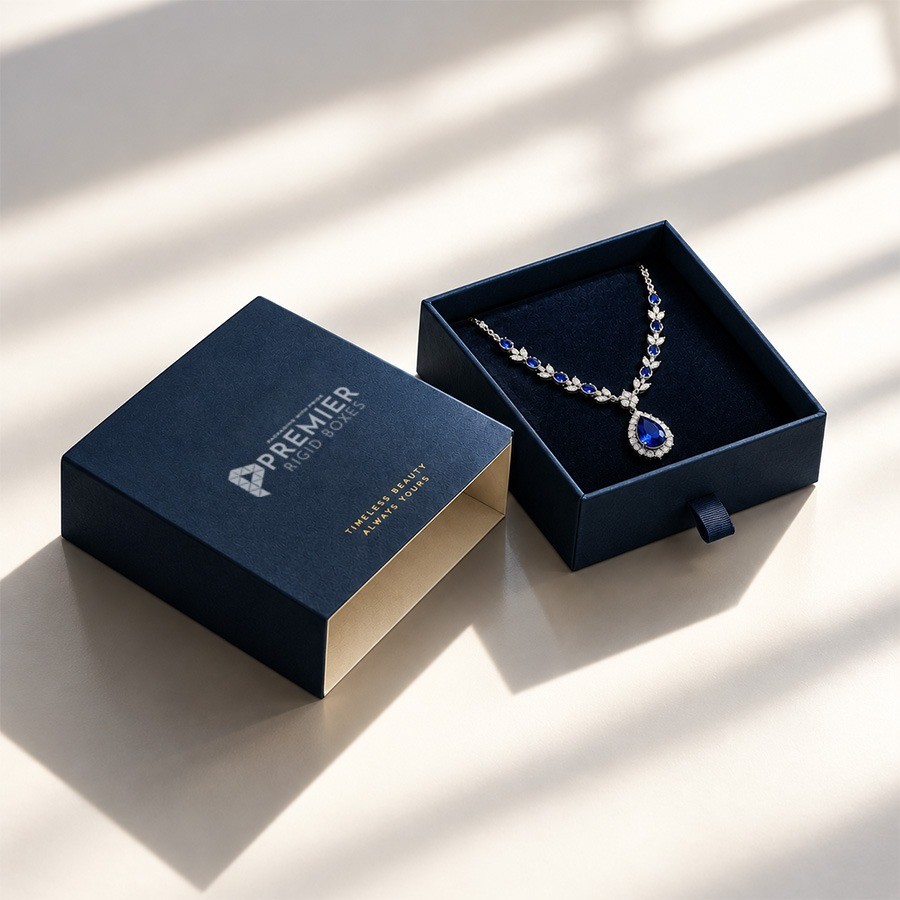

A necklace doesn’t need a huge package, but it does need the right one. A loose chain thrown into a box can quickly turn into a knot, and a pendant can get scratched if it moves around while being handled. Then there is the presentation itself. When someone opens a jewelry box, the first thing they should see is the necklace, not a pile of tissue paper or a tangled chain.
Making a necklace box at home gives you control over all of these details. You can choose the size, lining, color, closure, and overall look. It can be a fun weekend craft project for a gift, or a useful starting point for someone developing packaging for handmade jewelry.
The key is not to make the box complicated. Get the measurements right, build a solid base, and give the necklace somewhere secure to sit.
Start With the Necklace, Not the Box
Before reaching for the cardboard, measure the jewelry.
Lay the necklace on a flat surface and arrange it roughly the way you want it to appear when the box is opened. Measure the pendant separately if it is large or unusually shaped. Then consider how much of the chain needs to be visible.
For a small pendant necklace, an interior space of approximately 4 × 3 × 1 inches may be enough. A larger piece could need 5 × 4 × 1.5 inches, while a statement necklace may require considerably more room.
These aren’t fixed jewelry-box standards. They are simply useful starting points.
You also need a little breathing room. If the interior is exactly the same size as the jewelry, adding fabric or foam will make the fit too tight.
Pick Materials That Make Sense
For a homemade box, paperboard or reasonably sturdy cardboard is easy to work with. If you want something that feels more substantial, use a thicker board for the outer structure.
The inside is a different story. The material touching the necklace should be soft and smooth. Felt, velvet, satin, or a suitable jewelry foam can work well.
You’ll need a few basic tools:
- Ruler
- Pencil
- Cardboard or paperboard
- Scissors or craft knife
- Cutting mat
- Glue or double-sided tape
- Soft fabric
- Thin foam
- Decorative paper
- Ribbon, elastic, or another simple fastening material
A ruler with clear inch markings is particularly useful. Small errors become obvious when several panels have to meet at the same corner.
Work Out the Interior Dimensions
Let’s say you’re making a box for a necklace that measures approximately 6 inches when arranged for presentation, with a pendant measuring 1.5 × 1 inches.
You don’t necessarily need a six-inch-long box. The chain can be folded or secured inside the package. What matters is that the pendant has enough room and the chain can be held in place.
For a simple design, you might work toward an interior area of about 4 × 3 inches and a depth of 1 inch.
If you’re adding a ¼-inch-thick foam insert, remember that it will reduce the available depth. This is one reason it’s better to decide on the interior construction before cutting the box.
Draw the Pattern Before Cutting
Once the dimensions are settled, draw the box pattern on the board.
A basic box consists of a bottom panel, four walls, and small flaps that connect the corners. If your finished interior is intended to be 4 × 3 × 1 inches, the flat template will obviously be larger because the four one-inch walls have to extend around the bottom.
Mark the fold lines separately from the cutting lines. This is important. You don’t want to accidentally cut through a section that is supposed to become a fold.
Measure each side twice before making the first cut.
It sounds overly cautious, but cardboard isn’t expensive compared with the time you’ll spend trying to repair a badly measured box.
Score the Fold Lines
Clean folds make a homemade box look much better.
Use a bone folder, an empty ballpoint pen, or another blunt tool to lightly score the fold lines. The material should bend along the line without being cut through.
Fold the walls slowly. If the board resists, don’t force it. Check whether the score is deep enough and whether the line was marked correctly.
At this stage, assemble the box without glue. This is your first opportunity to see whether the corners line up.
If something is wrong, fix it now.
Build the Base First
The bottom section carries the necklace and insert, so it needs to feel solid.
Fold the walls upward and secure the corner flaps from the inside. Use a modest amount of adhesive. Too much glue can seep through the board and leave visible marks.
Let the adhesive set before putting weight into the box.
Now place the necklace inside. Don’t worry about decoration yet. You’re checking the practical side of the design.
Can the pendant lie flat? Does the chain have enough room? Is there space for the lining?
If the answer to any of these is no, adjust the construction before moving on.
Give the Necklace Something to Hold Onto
This is the part many simple DIY boxes overlook.
A necklace needs a holding point. Otherwise, the chain can slide around every time the box is moved.
One easy solution is a foam insert covered with felt. Make two narrow slots near the upper part of the insert and pass the chain through them. The pendant can then sit below the slots.
Another option is a thin ribbon attached across the insert. The chain sits beneath the ribbon while the pendant remains visible.
For a delicate chain, don’t use anything rough or abrasive. The inside of a jewelry box should be softer than the jewelry itself.
Make the Lid Fit Properly
The lid should be made after the base is established because its size depends on the finished base.
If the outside of your base measures 4.25 × 3.25 inches, for instance, the inside of the lid needs to be slightly larger. The exact allowance depends on the board thickness and the type of lid you’re making.
Don’t make the lid so tight that you have to pull hard to remove it. At the same time, it shouldn’t wobble noticeably when the box is closed.
Test the lid several times before covering it with decorative material.
Add the Decorative Finish
Now you can make the box look like a jewelry package rather than a cardboard craft project.
Cover the outside with decorative paper, textured stock, fabric, or another suitable material. Take your time with the corners. Neat corners make a surprisingly big difference.
For a refined look, you don’t need to cover every surface with decoration. A simple textured exterior, a small logo, and a clean interior can be more effective than several colors and patterns competing for attention.
A luxury necklace gift box can also include a ribbon, a magnetic closure, a sleeve, foil-effect lettering, or a small jewelry-care card.
The finishing choices should match the necklace. A minimalist pendant may look better in a simple package, while a bold statement piece can support a more dramatic presentation.
Test It Before Making More
Put the finished necklace inside and close the box.
Move it gently from side to side. Open it again and see where the jewelry has moved.
Pay particular attention to the pendant. If it has shifted into a corner, the insert needs improvement. If the chain has loosened, add another holding point.
Also, check the lid after several openings. The edges shouldn’t begin to separate or bend.
This step is especially important if you’re making boxes for customers. Producing a single prototype first is much cheaper than discovering a structural problem after making a larger batch.
When a DIY Box Isn’t Enough
Making one or two boxes by hand is perfectly reasonable. Larger jewelry businesses have different concerns.
If you need dozens or hundreds of identical packages, consistency becomes important. Every box needs to have the same dimensions, fit, print quality, and interior arrangement.
This is where custom packaging can be more practical than cutting and assembling every box yourself. Premier Rigid Boxes can be considered when a jewelry business needs packaging designed around a particular product, presentation style, or quantity.
Frequently Asked Questions
What size should a necklace box be?
There isn’t one universal size. A 4 × 3 × 1-inch interior can accommodate many small pendant necklaces, while larger pieces may require a 5 × 4 × 1.5-inch interior or more. Measure the actual jewelry and account for the insert before choosing the final size.
How can I stop a necklace from getting tangled?
Use a soft insert with slots, a ribbon, or another small holding mechanism. Keeping the chain secured at two points usually works better than simply placing it loose inside the box.
What can I use instead of jewelry foam?
Felt, velvet, and soft fabric-covered paperboard can all be useful alternatives. Choose something smooth that won’t scratch the necklace.
Can I make the box without a cutting machine?
Yes. A ruler, pencil, scissors, and craft knife are enough for a basic design. A scoring tool can make the folds cleaner, but it isn’t essential.
How much space should I leave around the necklace?
A little clearance is necessary for the insert and comfortable handling. For some designs, around ⅛ to ¼ inch of additional room can be a reasonable starting point, but the exact amount depends on the jewelry and interior materials.
Should I use cardboard or rigid board?
Cardboard or paperboard is convenient for simple DIY projects. Rigid board provides a more substantial feel and may be preferable for premium or long-term packaging.
How do I make a homemade necklace box look professional?
Focus on accuracy. Straight cuts, clean folds, an evenly fitted lid, a soft interior, and neat corners will usually have more impact than excessive decoration.
Should I make a sample before producing multiple boxes?
Definitely. Test one complete box with the actual necklace first. You’ll be able to identify problems with the dimensions, insert, lid, and overall presentation before spending more time and materials.
Final Thoughts
A good necklace box starts with the jewelry itself. Measure the pendant and chain, decide how you want the piece to sit when the box opens, and then build the package around those requirements.
For a simple pendant, a compact 4 × 3 × 1-inch interior may be sufficient. Larger pieces will naturally require more room. Whatever size you choose, don’t forget the insert thickness and the material used to construct the box.
The most important part isn’t the decoration. It’s the fit.
A necklace should stay in position, the pendant should be protected, and the lid should open without a struggle. Once those things are working properly, you can add the colors, textures, ribbons, and branding that give the package its personality.
That combination of protection and presentation is what turns a homemade box into packaging that feels genuinely thoughtful.